
Air rifle shooting: supporting red squirrel recovery
Air rifles have become an increasingly valuable tool in grey squirrel control.
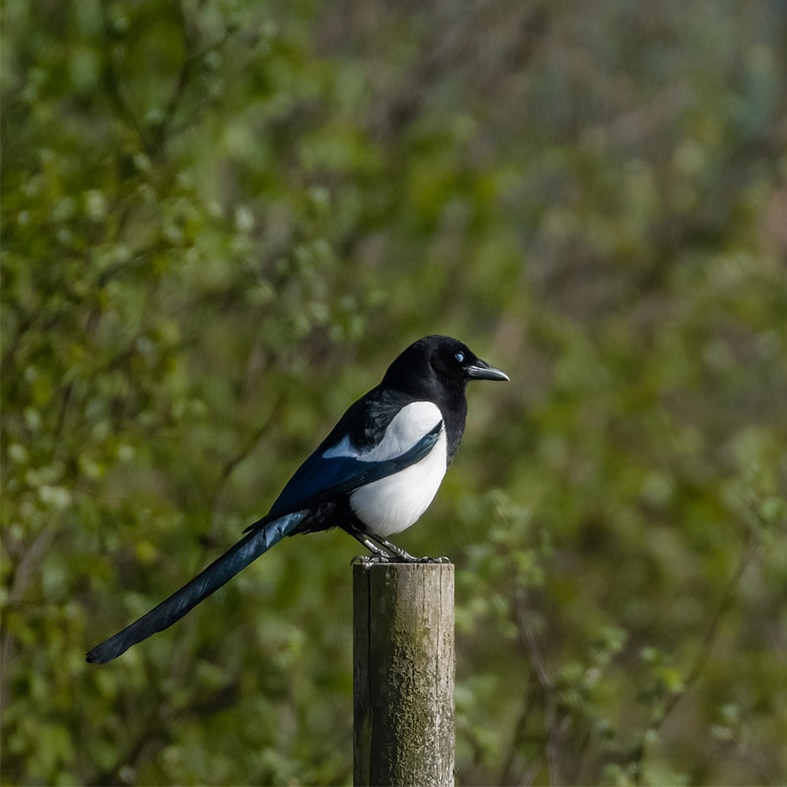
Get information on the legal shooting season for mammals and birds in the UK.

Apply for funding for your project or make a donation today
Comprehensive information and advice from our specialist firearms team.

Everything you need to know about shotgun, rifle and airgun ammunition.


Find our up-to-date information, advice and links to government resources.
Everything you need to know on firearms law and licensing.
All the latest news and advice on general licences and how they affect you.

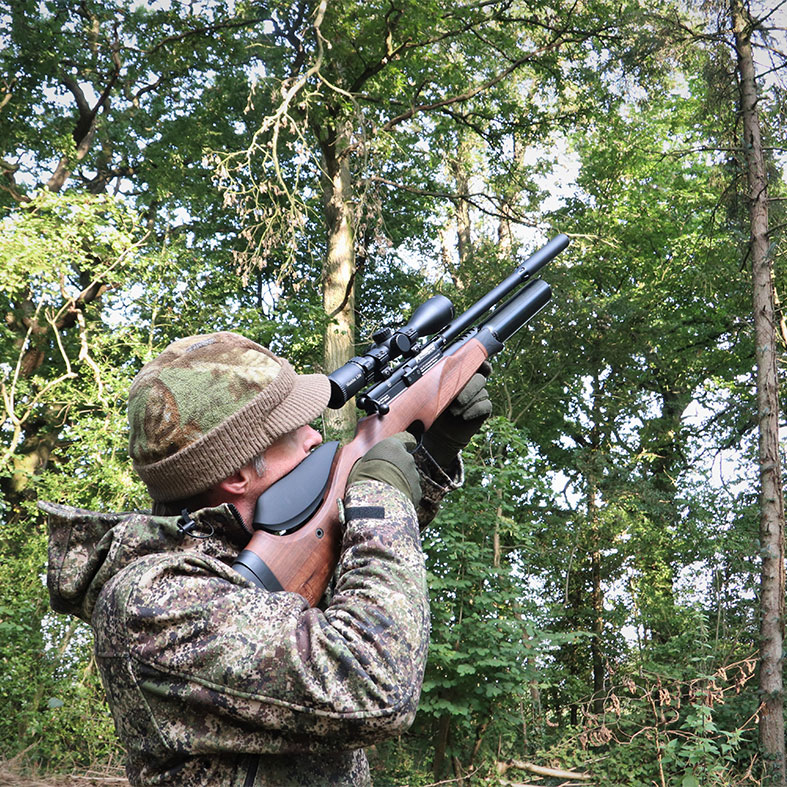
One question I seem to get asked more than any other is how airgun shooters can make their rifles more accurate. It is a fair question, as whether we are shooting for pest control or in competition, the ultimate goal is to place shots with optimum precision.
There are several things you can do to enhance airgun accuracy. Gun support and shooting technique play a large part, but some simple refinements to your kit and how you use it can also make a big difference to pellet placement.
As far as I’m concerned, the most important time to clean an airgun’s barrel is when it is bought new. Many manufacturers apply what appears to be a gunky grease to the inside of the barrels to protect against corrosion during transit and storage. It is a very wise measure, but it can really hamper accuracy when you’re trying to set up your new air rifle.
Felt pellets made specifically for the task of barrel-cleaning are relatively inexpensive and will do the job, but I prefer to use a pull-through, which is kinder and easier than jamming a rod down the barrel. You can make a pull-through of your own, but the ones in your local gun shop are made for the job and aren’t particularly expensive. I use Napier’s Airgun Power Through Kit, which includes everything you need and, most importantly, is barrel-friendly.
Remove the silencer and draw from the breech towards the muzzle until the patches come out clean. Go gently and don’t try to force too many cleaning patches through at once – the last thing you want is a blockage in the barrel.
A clean airgun barrel takes a few shots to ‘lead-in’ before grouping starts to tighten up. Don’t panic if accuracy initially appears to have been worsened by barrel trying to set up your new air rifle.
Felt pellets made specifically for the task of barrel-cleaning are relatively inexpensive and will do the job, but I prefer to use a pull-through, which is kinder and easier than jamming a rod down the barrel. You can make a pull-through of your own, but the ones in your local gun shop are made for the job and aren’t particularly expensive. I use Napier’s Airgun Power Through Kit, which includes everything you need and, most importantly, is barrel-friendly.
Remove the silencer and draw from the breech towards the muzzle until the patches come out clean. Go gently and don’t try to force too many cleaning patches through at once – the last thing you want is a blockage in the barrel.
A clean airgun barrel takes a few shots to ‘lead-in’ before grouping starts to tighten up. Don’t panic if accuracy initially appears to have been worsened by barrel
A seemingly small factor that can have a massive influence on your airgun’s accuracy is the type of pellet you decide to run through it. It is a frustrating fact that different airguns shoot best with different pellets. Even identical guns that rolled off the same production line can favour different ammunition, so there are no hard and fast rules as to what will give the best results.
The only certain way to know which pellets work best with your air rifle is to find out for yourself by experimenting on the range. It takes time and effort, but the outcome should be well worth it. The best air rifles in the world will perform very poorly with a badly matched pellet, while even cheap and cheerful airguns can show a marked improvement in downrange performance if you pair them with the right ammo.
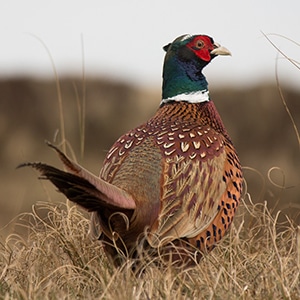
As a rule of thumb, quality roundhead, or domed, pellets made by reputable brands tend to produce the best accuracy from most airguns. Elaborate hollow-point and pointed designs may claim to deliver enhanced expansion or penetration, but (even when it proves to be the case) that is not important unless you are landing them in exactly the right place. A shot that strikes a rabbit, rat, grey squirrel, pigeon or crow squarely in the head will result in a clean kill, whatever shape the pellet is.
High-level target shooters choose domed airgun pellets because they are the most reliable when it comes to producing consistent accuracy, and that’s good enough for me. Having settled for that style of pellet, I then like to try as wide a selection as is practically possible when setting up a new gun.
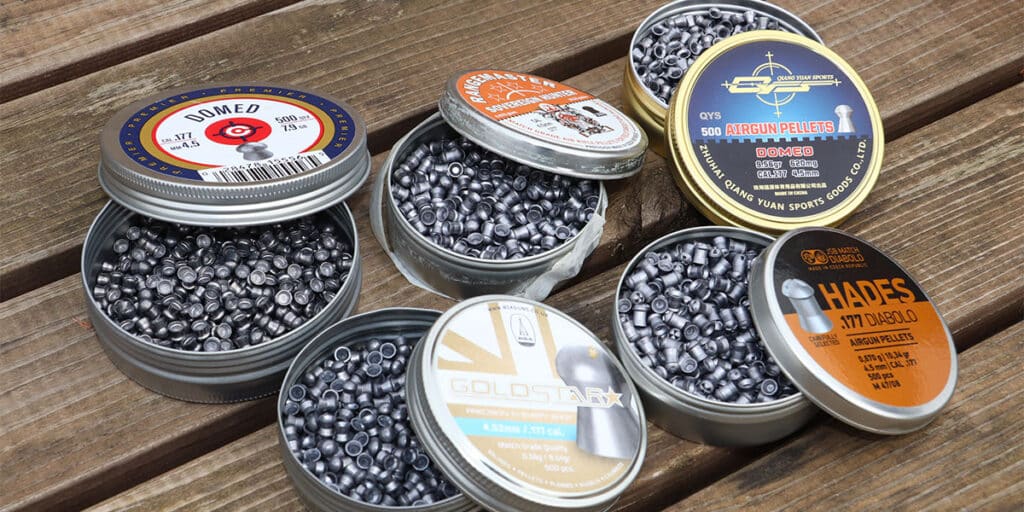
The best pellet brands tend to be more consistently produced in terms of shape and weight than inferior options, so I would recommend sticking to them. Expect to pay upwards of £8 for a tin of 500 pellets, and as much as £20 for premium lines. Even at the top end of that scale, that’s only 4p per pop, so it really isn’t worth trying to cut corners with cheap pellets.
Although not particularly expensive, airgun ammo can start to get pricey when you want a wide selection to find which works best with your gun. Thankfully, you don’t have to have a whole tin of 500 of each for basic testing, and some retailers offer sample packs specifically for the purpose. Friends and members at your local club may also be able to spare a few pellets in order for you to try some different brands and weights without having to fork out for full tins.
A sample comprising half a dozen of the popular airgun pellets should reveal one or two that work particularly well with your gun. The choice is quite overwhelming but domed pellets from the Air Arms, Daystate, QYS, JTS, JSB, Crosman, H&N, RWS and BSA lines tend to be good performers.
With the days getting longer and the weather hopefully getting warmer, now is a good time to spend an evening or two testing pellets. The club range is an excellent place to do this, but it can be done in a moderately sized garden, as long as you take measures to ensure there is no chance of pellets straying beyond your boundary.
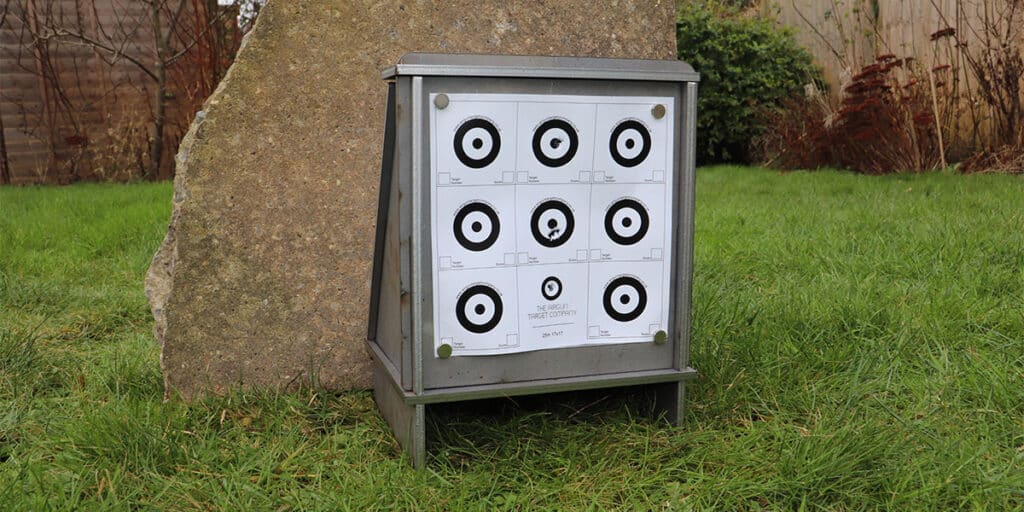
Purpose-made pellet traps hold target cards in place and catch pellets without risk of ricochet. They aren’t particularly large, though, so it’s worth putting a concrete slab behind them unless you are fortunate enough to have a brick or stone wall as a backdrop.
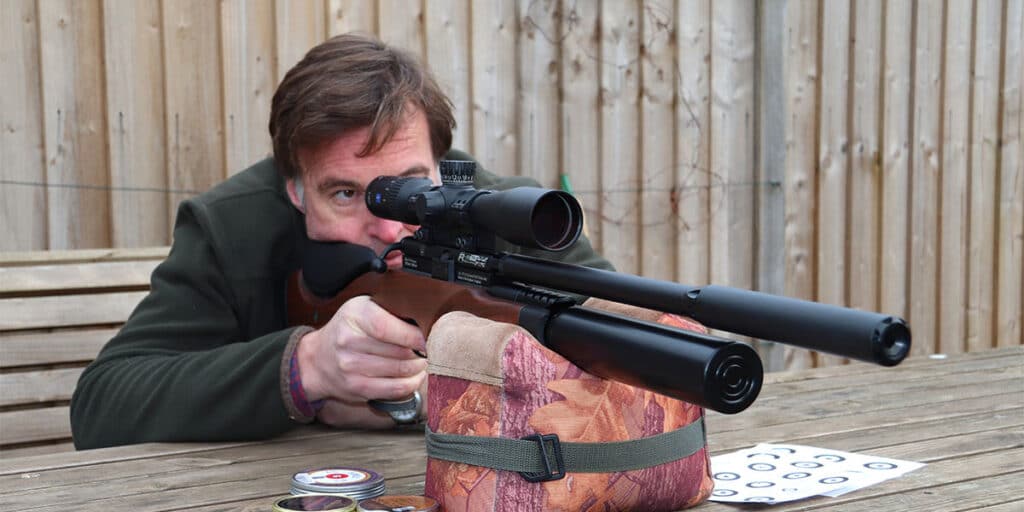
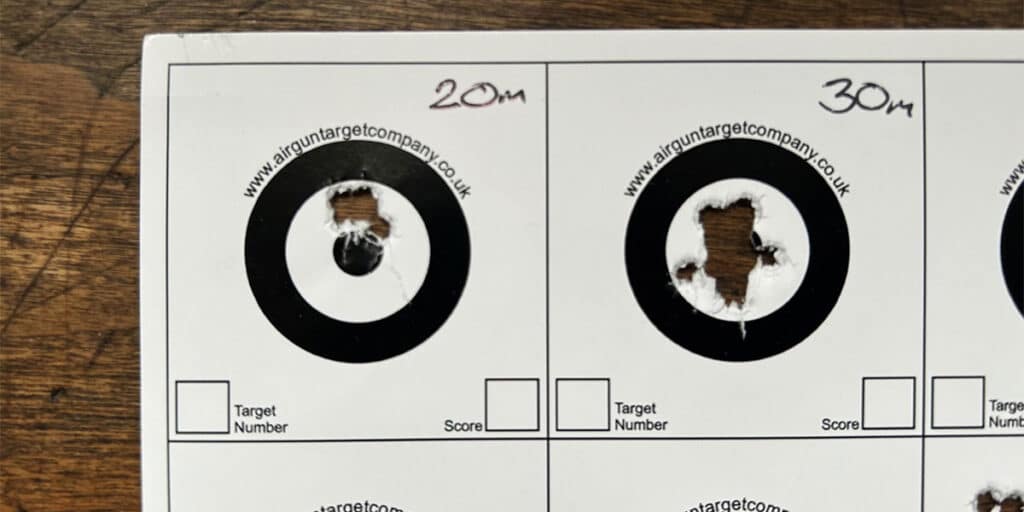
Targets made from paper or card are the best for pellet testing, because they show exactly where each shot strikes – you can move on to reactive metal targets to spice up your practice sessions once you’ve got basic accuracy sorted. Set up so shots will be taken from a stable position with the gun rested and start with a superficial zero at around 12m. With your scope set for that pellet, you can now move the target further back to see how well the grouping holds out over longer ranges. You should see a noticeable difference by 30m, and that will give you a very clear indication as to which pellets work best with
your airgun.
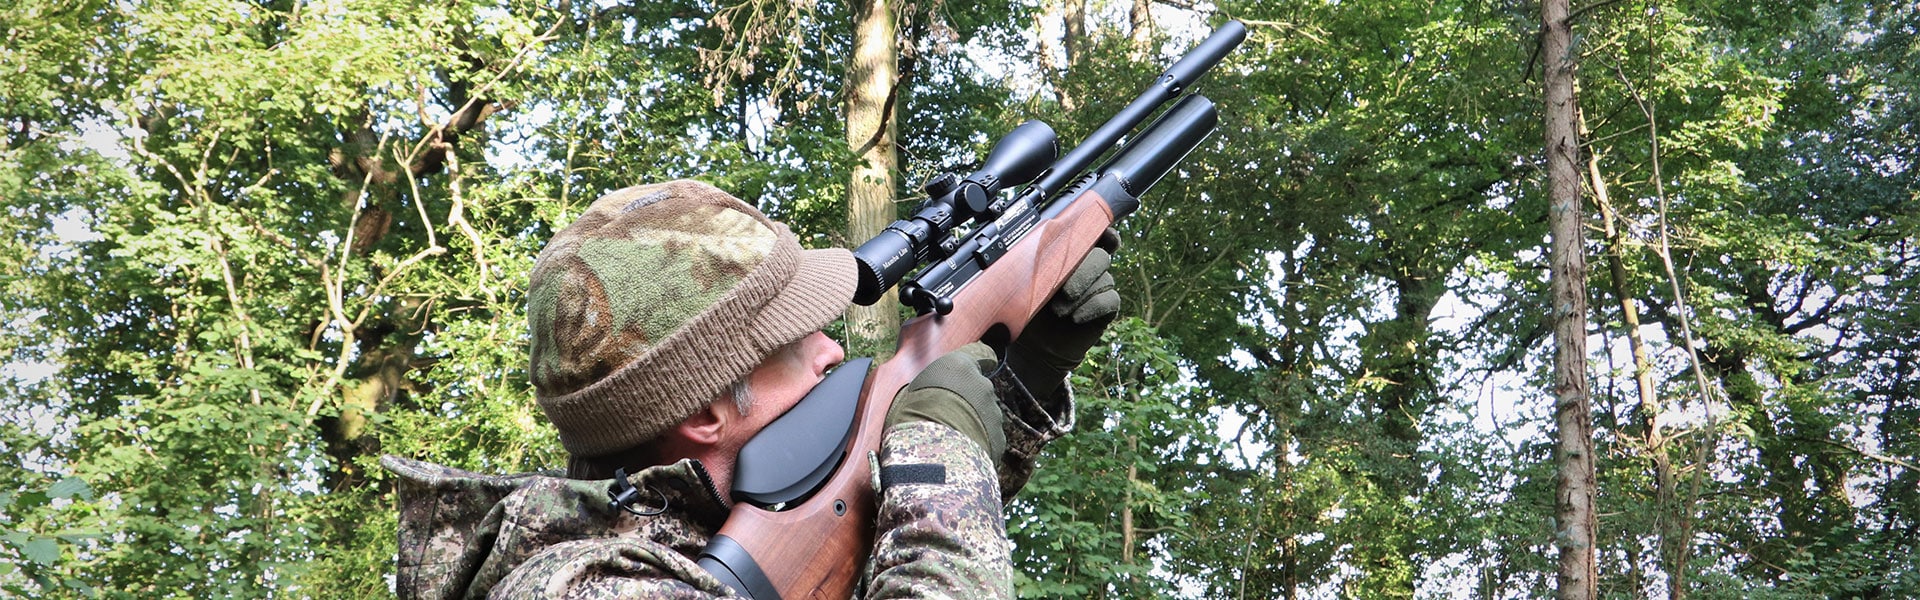
Airgun pellets travel downrange with a distinctly curved trajectory, especially if you opt for the heavier, slower .22 calibre. Fail to compensate for this significant rise and fall, and your shots could end up way off the mark.
Imagine that you are lobbing pellets, and you won’t be far off the mark. To generalise, and working from a theoretical 30m zero, the flightpath goes something like this. Because the bore is somewhere in the region of 50mm below the line of sight through your scope, the pellet will be travelling about 50mm low when it leaves the barrel and will still be striking low at 10m. At around 15m, the pellet will correspond with the line of sight and will strike at the centre of the crosshair. The pellet then continues to rise and will likely be striking high at 20 to 25m before gravity pulls it back down to your set zero at 30m. Beyond that (and in the absence of a backstop) the pellet will continue to fall until it hits the ground.
The exact rise and fall and the increments by which it shifts from the set zero over various ranges are influenced by factors including pellet weight, pellet velocity, the gap between the scope and barrel bore, and the range at which you set zero. Although it sounds quite complicated, you can easily work it out with some paper targets.
Set out targets at five-metre intervals between ten and 40m (or however far you like) and shoot a group of five shots at each target, aiming dead on the bullseye for each one. The height of each group will reveal exactly how high or low your shots are striking at each given range. Repeat the process, aiming high by the same amount for shots that struck low and aiming low for the shots that struck high, and you should find that your pellets are back in the bullseye.
The compensation you make to keep shots on target over varying ranges is known as holdover and holdunder. Scopes with multi-aimpoint reticles make it easy to gauge and repeat correct aim-off, but you can estimate the amount of holdover and holdunder relative to the size of the target if using a basic crosshair.
Armed with the knowledge you gained on the range, you can now use holdover and holdunder to apply correct aim-off in the field. Of course, you need to know the distance to the target to get it right – we used to have to learn to do that by eye, but a laser rangefinder provides a quick, easy and far more accurate option.
The processes described here are all fairly simple, but can make a real difference to airgun accuracy. Correct pellet choice is the big one, but the others should help you to keep shots on target once you’ve settled on the right ammo. Give them a try.
Air rifles have become an increasingly valuable tool in grey squirrel control.
Autumn might mark the start of the game shooting season for many, but we’re fortunate to have a variety of shooting types on offer to us in the UK.
FAC-rated air rifles offer versatility in a wide range of shooting situations, but UK shooters have been slow to catch on.