


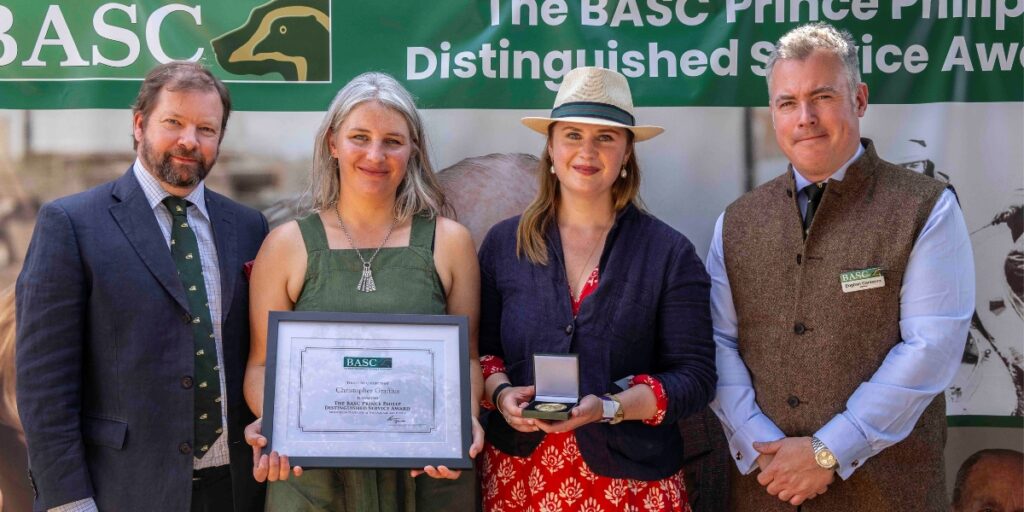
BASC honours the late Christopher Graffius at The Game Fair
For 24 years, Christopher Graffius made sure the countryside’s voice was heard in Westminster, a contribution honoured at The Game Fair this weekend.

For 24 years, Christopher Graffius made sure the countryside’s voice was heard in Westminster, a contribution honoured at The Game Fair this weekend.
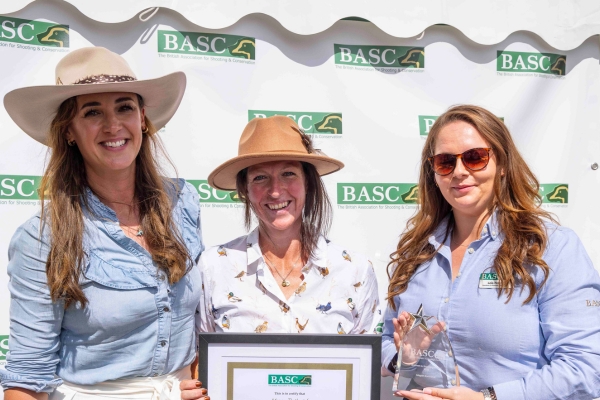
BASC has launched a new campaign inviting women to share their own stories and experiences of how they got into shooting.
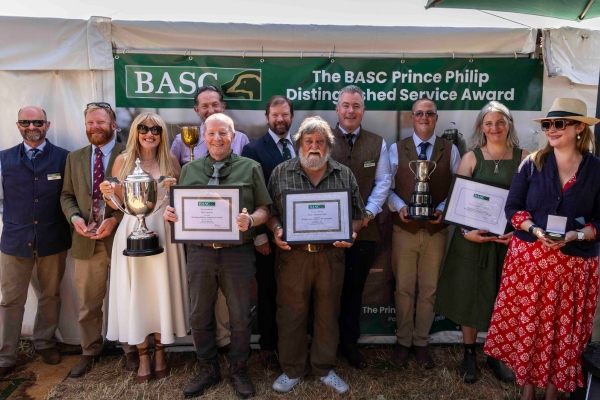
From conservation champions and dedicated volunteers to inspirational advocates for shooting, BASC celebrated a raft of remarkable achievements at its annual honours and awards ceremony.