
BASC launches register of competent deer stalkers
The BASC register of competent deer stalkers is a new initiative which seeks to open up deer management opportunities for BASC members.
Get information on the legal shooting season for mammals and birds in the UK.
Apply for funding for your project or make a donation today
Comprehensive information and advice from our specialist firearms team.
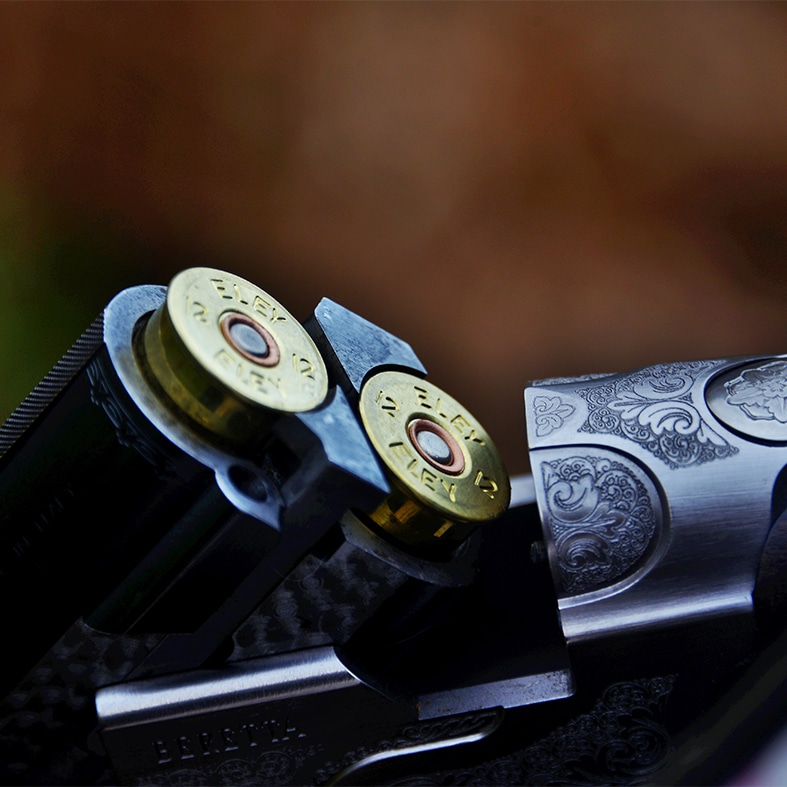
Everything you need to know about shotgun, rifle and airgun ammunition.


Find our up-to-date information, advice and links to government resources.
Everything you need to know on firearms law and licensing.
All the latest news and advice on general licences and how they affect you.
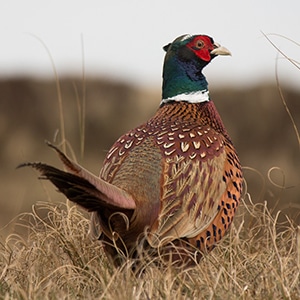
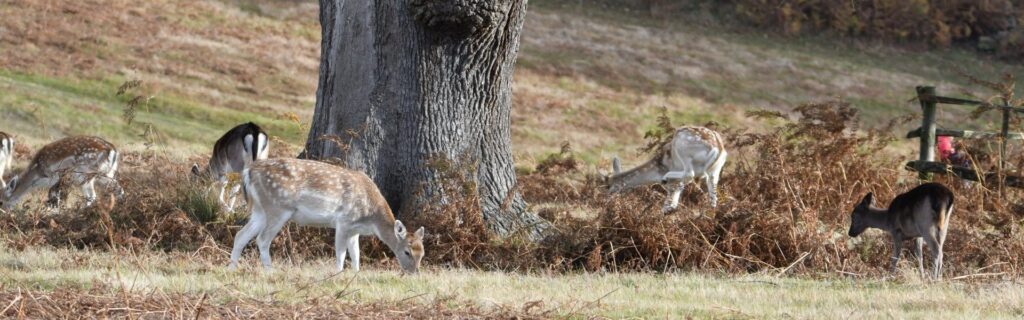
The world of shooting is chock-full of useful hints, tips and tricks that can make our lives easier – and, as anyone who has watched multiple stalkers in action will confirm, deer management is no exception.
Whether we’re gralloching, extracting or lardering deer carcasses, we all have our own ways of doing things. In search of a few snippets of advice that should prove handy to stalkers of all experience levels, we asked some BASC colleagues for their top tips.
When it comes to extracting the larger species of deer (particularly reds) from remote areas with rough terrain, rather than dragging the carcass back to a vehicle I now butcher them (or quarter them) on the spot where they fell.
Using a cordless reciprocating saw (as opposed to a small hand saw or knife) is a fast and tidy way of cutting through large bones and ribs. The individual pieces are then packed into breathable sacks and loaded into a backpack, before being carried back to the vehicle.
Butchering on site also allows the majority of the by-products, i.e. skin, organs, etc., to be left (or buried) on site. The only drawback to this method is that you must be extra vigilant to ensure the meat is kept clean and no dirt or debris from the ground come into contact with anything you are taking away.
Once back at the vehicle, the meat is placed in a large cool box with ice, to allow it to cool during the drive home.
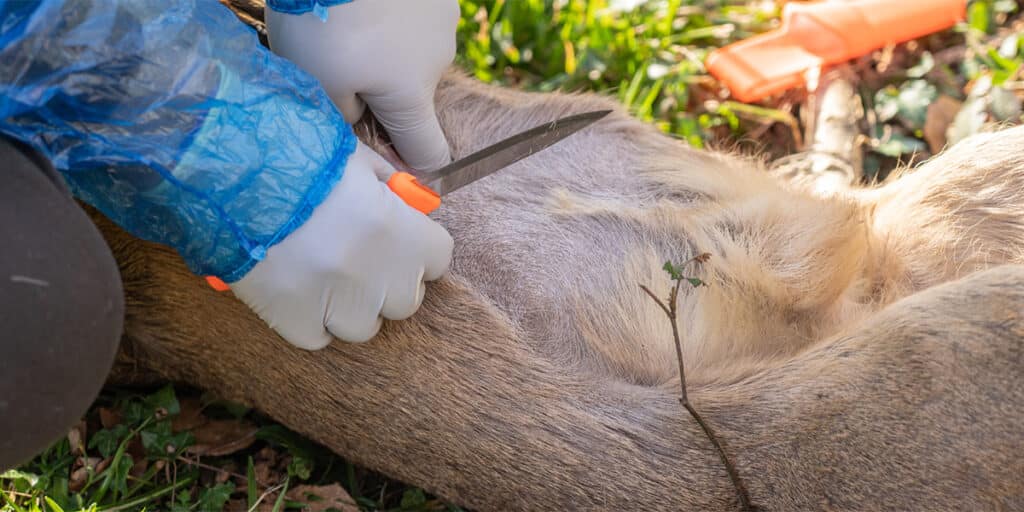
This top tip is a bit of an odd one that is now a go-to for me when skinning deer carcasses.
It’s long been a pet peeve of mine when cuts of venison end up slashed and bloody from wayward cuts with a knife when skinning, particularly the insides of the haunches and forelegs. Other than the obvious taking care, I’m sure there are all manner of fancy knives on the market to combat this, but I use a Stanley knife fitted with a carpet hook blade. They are razor sharp, cheap, replaceable and make it very hard to damage the meat while slicing effortlessly through the hide.
To be honest, I do try to use a knife as little as possible when skinning and instead use my hand to separate hide from meat, but for those necessary cuts inside the legs and around the neck, this really does help!
Paired with the ‘clean hand/dirty hand’ method, whereby only one hand touches the hide and the other is kept clean for touching the meat, I find this tool helps me to keep carcasses very clean and well presented.
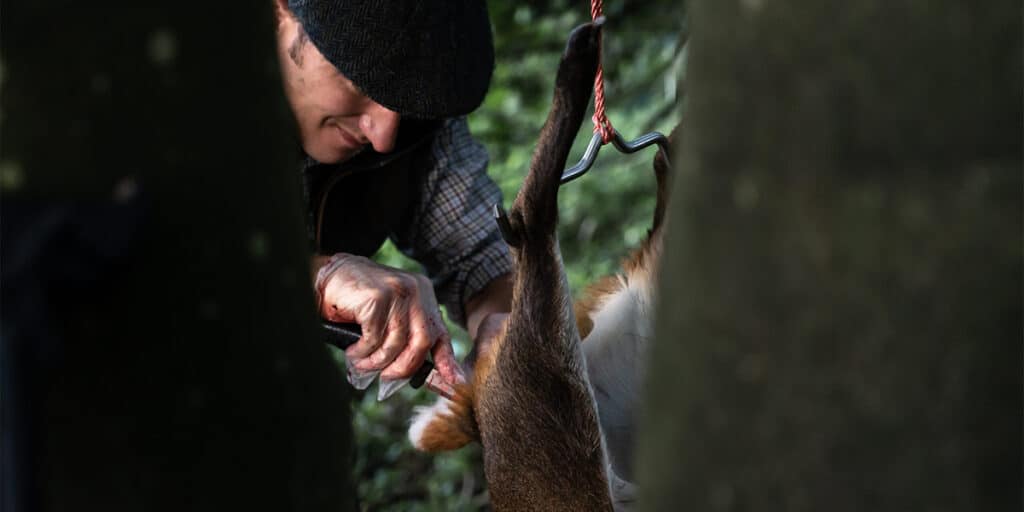
If you’re going to gralloch in the field, rather than take the animal back to a larder, then it is always best, if possible, to suspend the carcass. This reduces the chances of contamination and gravity does an excellent job of emptying all the internal organs and accumulated blood from the body cavity.
I’ve seen lots of contraptions, from simply hocking a leg and hanging it from a branch to very complicated block and tackles.
In the end I found a Thule ratchet strap (used to tie your canoe to the top of the car) along with a simple pulley and lightweight gambrel is perfect for all but the heaviest of deer. It’s light and small enough to carry but very easy to deploy and saves your back from any awkward lifting.
When it comes to extracting deer from the Arran Stalking Scheme, a lot of the traditional or common methods just don’t cut it. These deer are in some seriously rough terrain and we need to adapt at every turn to make sure they end up in the larder.
I could write about the winches and snatch-block pulleys that we rely on daily, but a relatively simple tool we have come to rely on seems to turn more heads, so I thought I would write about that.
In order to ensure a smooth and snag-free extraction in harsh terrain, we often use logging cones. These are large, smooth plastic shields designed to slip onto the end of a felled tree to stop it digging in when being dragged. When slipped over the front end of a red deer, it serves a similar purpose! We have far fewer instances of the deer getting tangled or stuck and it goes some way to keeping the carcass clean in the process.
I was told by an old stalker friend that it was bad luck to clean your knife before you go stalking and he’d rather struggle with a blunt knife than risk the potential bad luck! Luckily for me I’m not too superstitious. For me it’s all in the preparation and being in a position to deal with the carcass in a professional manner. I get as much enjoyment from seeing a clean carcass I’ve prepared as I do from the stalk itself.
Over the years, I’ve found that having a process to follow – one that you are well-prepared for – makes all the difference when gralloching and extracting animals. If you’re not prepared and you take shortcuts, efficiency and hygiene suffer.
I always make sure my knife is sharp and that I always have two pairs of clean gloves (I use Marigolds, as I was conscious of how many pairs of disposable gloves I was throwing away) and a pack of antibacterial wipes. I always have a couple of ‘S’ hooks, which are useful for a suspended gralloch on the smaller deer species, and I always pack a good headtorch – gralloching by phone light is far from ideal – and a length of rope – to help with dragging, if required.
For me there is no right or wrong way when dealing with a carcass, provided the end result is free of contamination.
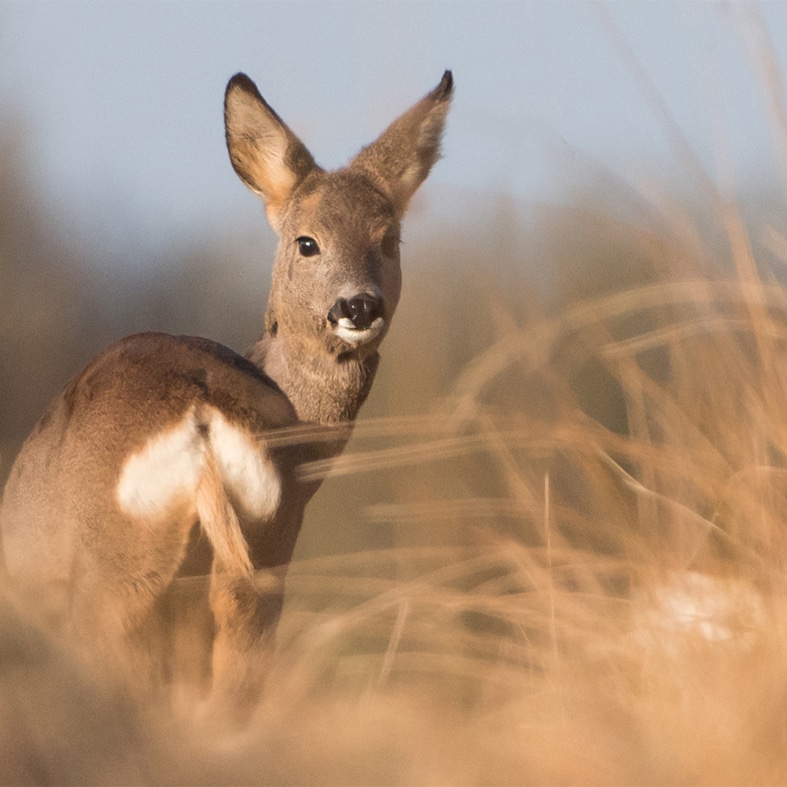
If you would like to read more about deer, management, and deer stalking, please click here.

The BASC register of competent deer stalkers is a new initiative which seeks to open up deer management opportunities for BASC members.
BASC is calling on members to respond to a Scottish Government consultation which will shape the future of deer management in Scotland.
Applications for Farming Equipment and Technology Fund are now open and include grants of up to 50 per cent for deer chiller trailers.